 Ah, it’s almost time to start some seeds!
This is one of my favorite times of the year. Planting a garden represents so much hope for the future!
Last year was the first time I had a decent seed starting set up, and I would love to share it with you! It was simple, inexpensive, and a great way to start seeds.
First of all, I sent my husband off to Walmart and Lowe’s. Moses was only a few months old and hated car rides at the time, so unfortunately I stayed home. My mission was simple. I wanted a cheap seed starting set up that would reside in our bedroom.
(As a side note, grow lights can be pretty intense and are perfectly suited for a basement, closet, or room that isn’t used often to protect little eyes from constant exposure. We were bursting at the seams last year and our bedroom was the best option.)
He came home with exactly what I asked for. Two $17 black plastic shelving units, non-LED shop lights, and hardware to hook the lights to the shelving.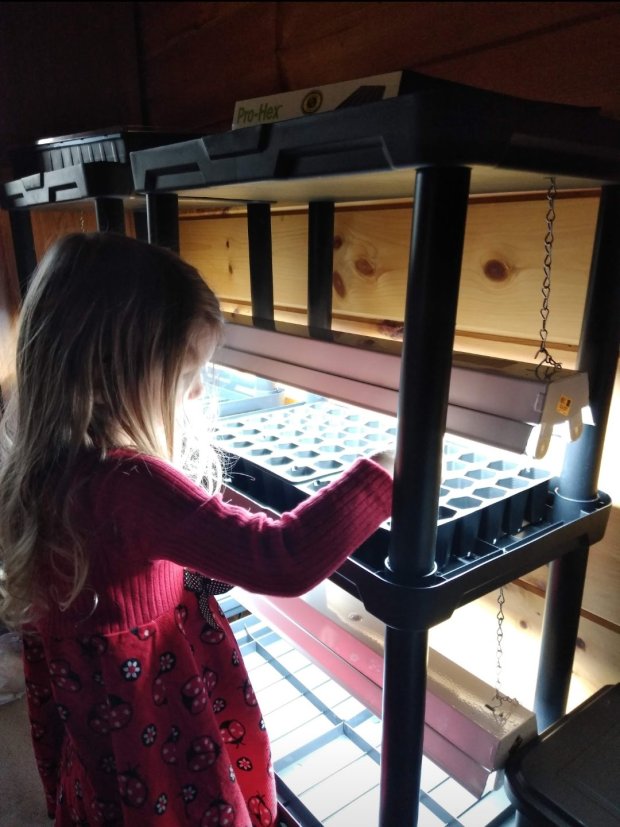 (Trying out the system before we planted seeds.)
My husband set it up, and we were ready to go! We set up the lights pretty close to the seedling trays to keep them from getting leggy. I opted for shop lights since they were less expensive than official grow lights, and they get the job done. Any type of water resistant shelving would work well for starting seeds.
To start the seeds, I used grow trays and seed starting mix from Walmart. This year I purchased seed trays from Amazon. It is super important to keep the soil moist before germination occurs. It’s also important to use a well draining soil. Regular garden soil would impede root growth in your seedlings. I used a spray bottle to water the seedlings.
I also used a heat mat underneath my tomato and pepper starts. The top of the refrigerator is also a good warm place to put your seeds until they germinate. Once you see little seedlings, it is time to put them back underneath your grow lights.
Once your seedlings grow a couple of inches tall, it is time to up-pot them. Raise up those grow lights to accomodate the larger pots.
Once the days grew longer, we started to set the seedlings out on the porch to harden them off. But inside they came during cool nights.
(All of my little seedlings! I poked holes in the bottom of the strofoam cups with a pen to encourage drainage.)
I highly recommend “Clyde’s Garden Planner” to learn when the appropriate time to start and plant seeds is for your area. It is around six dollars, and is very helpful.
Not all of the seedlings made it, but the vast majority did! It was so satisfying to see them growing in my garden later that spring.
This year I’m even more excited to start seeds. Our new home has so much more useable outdoor space!
I would love to be a blessing to you by sending a small package of seeds for you to add to your garden! If interested, please send your mailing address to me at randncrone@gmail.com.
Have you ever started seeds indoors? It is absolutely lovely to play in the dirt and get a taste of spring while still in the middle of winter!
This post includes affiliate links.
Oh, yes! I start seeds at home. My basement becomes a plant production area each spring, producing about 4,000 plants. Most are for my potager and flower gardens, but some are for our little garden club’s annual plant sale. I use a light stand similar to yours, but home built out of 2 x 4’s over 40 years ago (and still fine) Best of luck in your new location. Happy growing!